

How To Clean Under Keyboard Keys Macbook
In this guide I explain how to repair damaged keys on a MacBook Pro keyboard (unibody style).
In this particular case I'm fixing a MacBook Pro 13-inch laptop keyboard with two damaged keys but same steps will apply to MacBook Pro 15-inch and MacBook Pro 17-inch models.
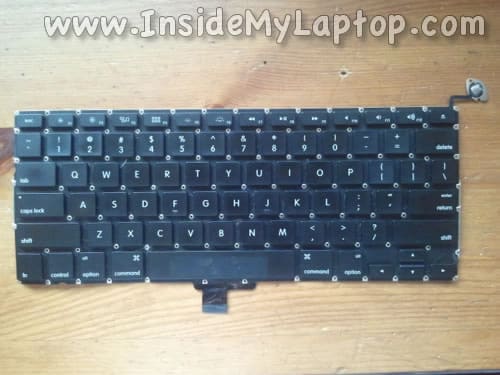
I'll take spare parts for repair from a damaged keyboard I have laying around.
If you have a few keys missing or damaged, it might take sense to buy the entire new keyboard instead of individual keys and use it as a donor.
By the way, in one of the following posts I will show how to replace the entire keyboard on a MacBook Pro 13″, 15″, 17″ unibody.
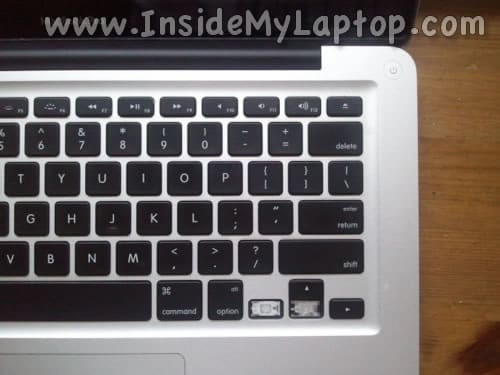
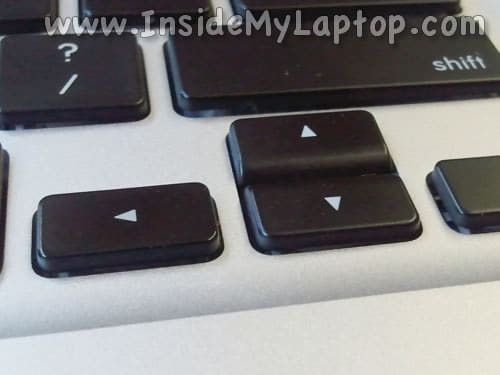
As you see, I have two damaged keys on the MacBook Pro keyboard.
The left arrow key missing just the cap.
The bottom arrow key missing the cap, key retainer (hinge) and silicone plunger.
You will need needle nose tweezers to handle small parts.
Let's fix them!
STEP 1.
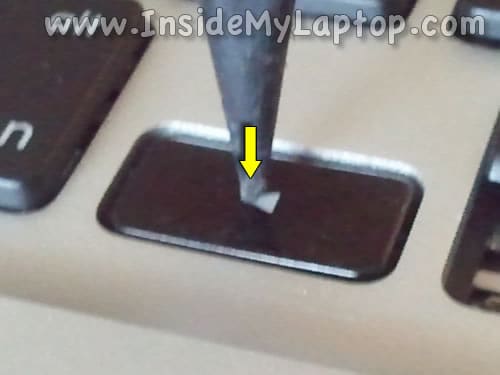
Remove the key cap from the damaged (donor) keyboard.
In order to do that insert a sharp object between the key cap and key retainer and lift it up.
The key will unsnap from the retainer.

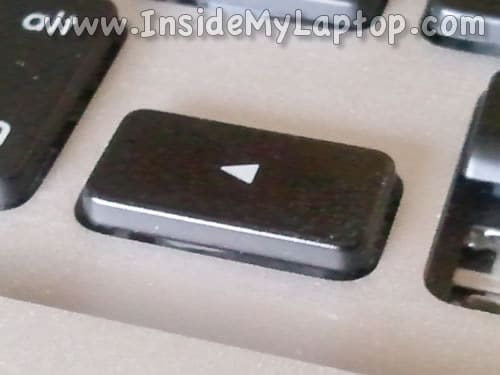
STEP 2.
The left arrow key cap removed.
STEP 3.
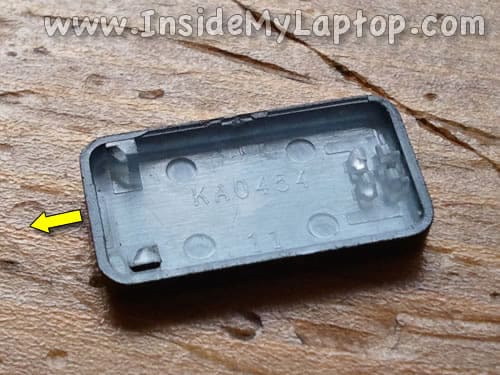
Turn the key cap over and inspect small plastic key holders on the bottom side of the key. Make sure they are not damaged.
These holders secure the key cap to the retainer (hinge).
When you install the key cap on the retainer, make sure to seat the side with holders on the edges of the key fist.
In my case the left side of the key cap should be seated properly.
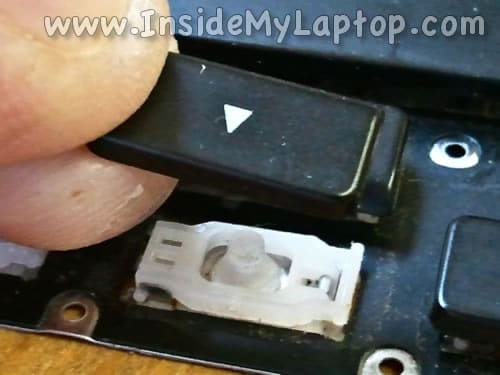
STEP 4.
Seat the side with holders on the edges of the key fist. Make sure the holders engage with the retainer.

STEP 5.
Push on the button until it snaps on the retainer.
STEP 6.
The left arrow key has been repaired.
Make sure it moves freely.
Now let's fix the bottom arrow key.
STEP 7.
Remove the bottom key from the donor keyboard.
Inspect the bottom side of the key, make sure that holders are not damaged.
STEP 8.
Carefully remove the key retainer from the donor keyboard.

STEP 9.
Inspect the retainer. Make sure it's not damaged.

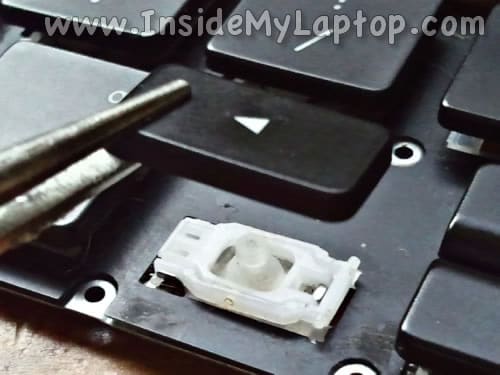
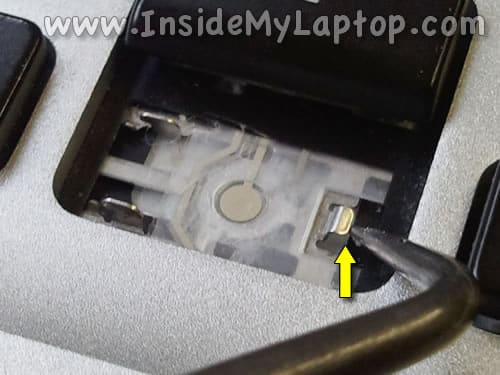
STEP 10.
Here's the tricky part.
Very carefully separate the silicone plunger from the donor keyboard.
Try to remove it from the keyboard as clean as possible, so the bottom side of the plunger remains as flat as possible.
You can use a very small knife to separate the plunger from the keyboard.

STEP 11.
On my target MacBook Pro one of the metal hooks was bent so I corrected the problem.
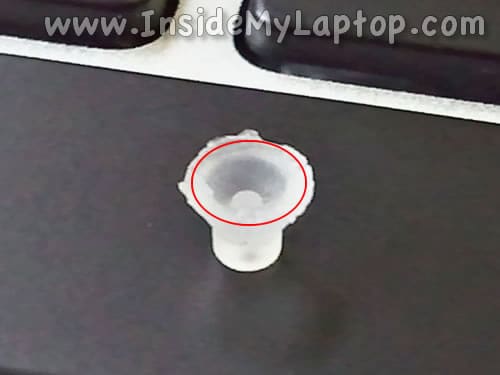
STEP 12.
Turn the silicon plunger upside down.
Apply a small amount of super glue on the plunger edges. You need the glue just on the edges.
The first time I wasn't careful enough and the glue filled up the plunger. I had to use another one.
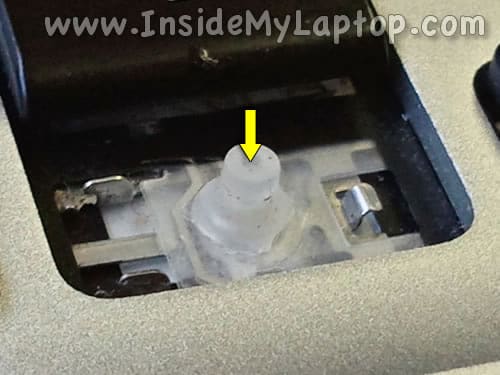
STEP 13.
Seat the plunger in the right position on the target keyboard and let the glue dry.
At first, I tried applying some pressure on the plunger but it didn't work, because the plunger just kept moving around.
Finally, I just reapplied the glue and let the plunger to seat by itself for about 10 minutes without applying any pressure on it.
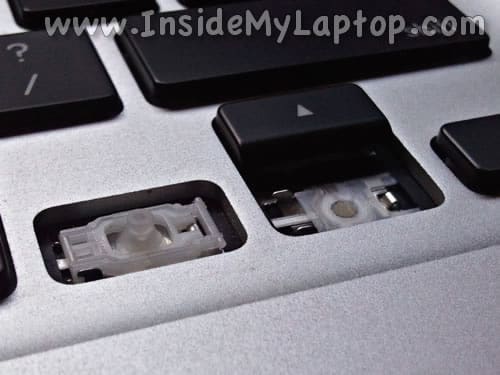
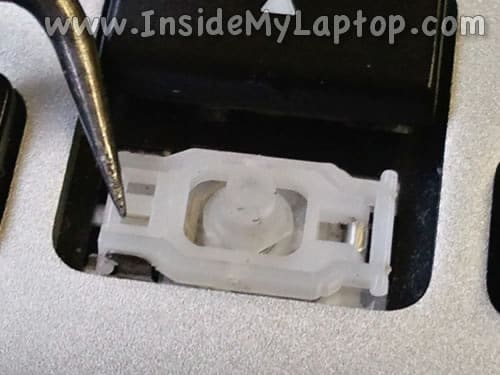
STEP 14.
Install the key retainer on the target keyboard.
STEP 15.
Install the bottom arrow key as we did in steps 3-5.
Make sure the key moves freely.
The keyboard has been fixed!
If you have multiple damaged keys, it might sense to replace the entire top case assembly with the keyboard. Replacement top cases available here: https://ebay.to/37cRuEg
How To Clean Under Keyboard Keys Macbook
Source: https://www.insidemylaptop.com/how-to-repair-damaged-key-on-macbook-pro-keyboard/
Posted by: taylorsquinged.blogspot.com
0 Response to "How To Clean Under Keyboard Keys Macbook"
Post a Comment